How to Capture Your Kitesurfing Sessions: The Ultimate Camera Guide
We’ve all been there—you just nailed your first upwind run or hit a fun wave, and you wish you had a video to prove it. Learning how to capture your kitesurfing sessions is the best way to track your progress and share the stoke with friends. You don’t need a film crew to get pro-level shots. With the right camera gear and a few mounting tricks, you can turn your rides into highlight reels.
📷 FIND YOUR CAMERA GEAR
Explore recommended options mentioned in the article, ready to browse on Amazon.
Choosing the Right Kitesurfing Camera
Before you mount anything to your lines, you need to pick your weapon of choice. Here is how the current market stacks up for water sports.
GoPro Hero Series
The GoPro remains the gold standard for kitesurfing. The Hero series is rugged, fully waterproof, and offers incredible image stabilization (Hypersmooth). If you want "set it and forget it" quality, this is your best bet. It handles the harsh salt-water environment better than almost anything else on the market.
Insta360 X-Series
If you’ve seen those "pro" shots where the camera seems to follow the rider from behind, that’s a 360 camera. These cameras record everything around you, letting you re-frame the shot later on your phone. It’s perfect for seeing your board technique or getting those cinematic "third-person" angles.
Budget Action Cams
If you aren't ready to invest in premium gear, brands like Akaso or SJCAM offer decent 4K footage at a fraction of the cost. They are great for beginners, but keep in mind they often lack the high-end stabilization and durability of the big names.
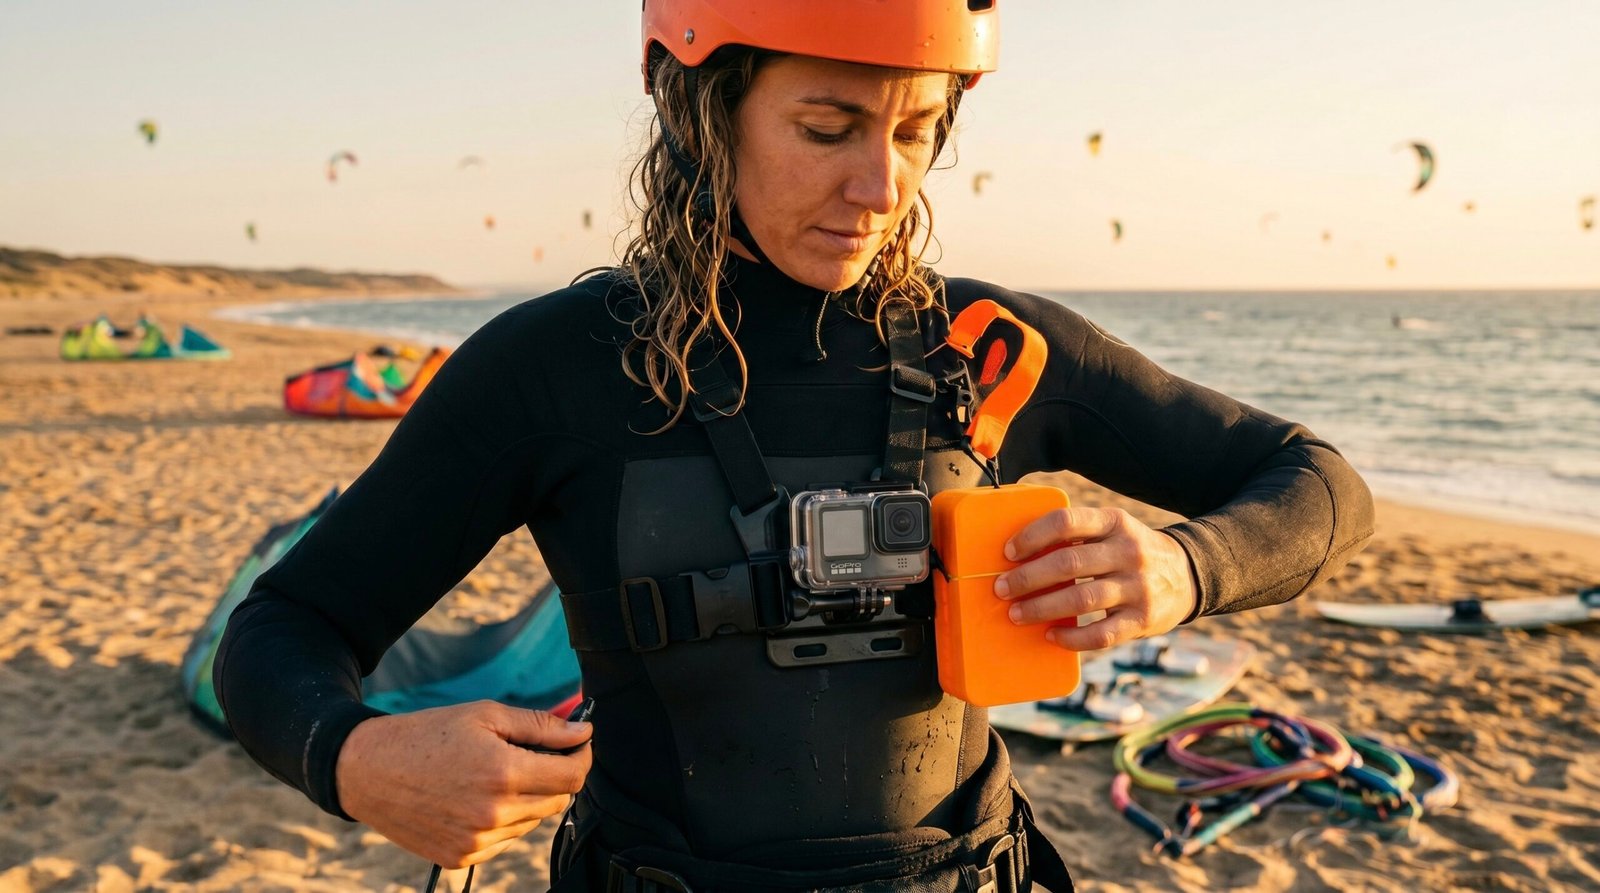
Mounting configuration — a kitesurfer checking their camera security harness before heading into the surf.
Essential Mounting Gear
Where you put the camera changes the whole vibe of the video. Here is the kit you actually need.
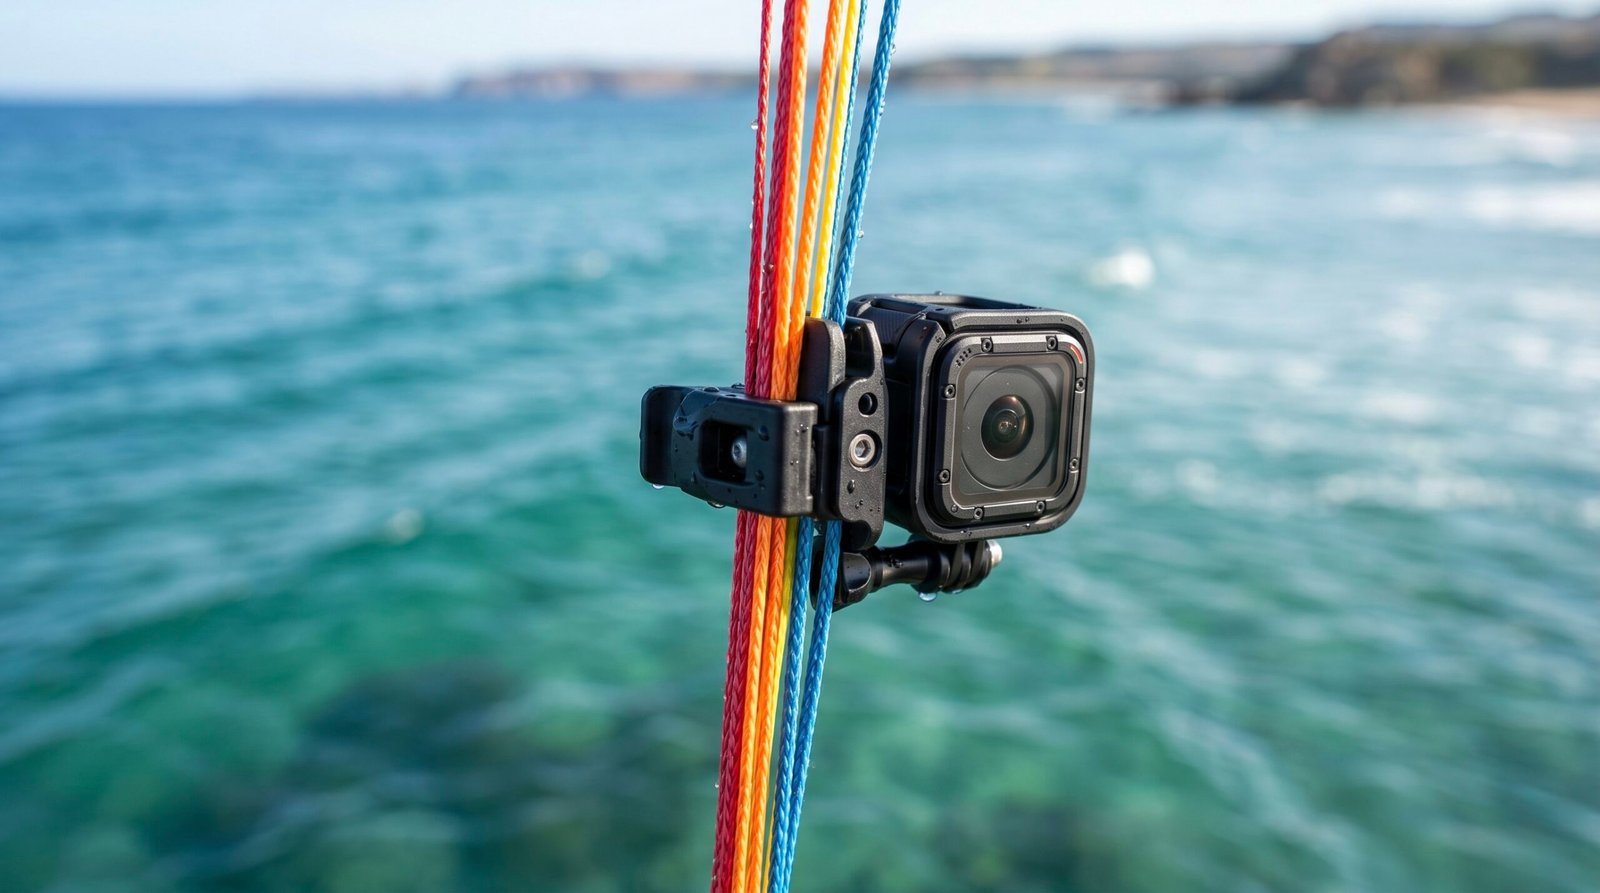
- The Line Mount: This is the holy grail of kitesurfing POV. The camera attaches directly to your flying lines near the bar. It gives you that classic "bird's eye" view looking back at you, showing your board, your hands, and the water ahead.
- The Mouth Mount: Popularized by pro surfers and kiters, the mouth mount gives a low, immersive angle that makes the water feel like you are skimming right across it.
- The Chest Mount: If you are still working on your body position, the chest mount is fantastic. It points slightly upward, showing your stance, your harness, and the kite above you.
Pro Tips for Epic Footage
- Use a Floaty: Water eats cameras. Always use a bright, high-visibility "floaty" or waterproof housing. If your camera unclips from your lines, a bright orange floaty is the only thing that will help you find it again.
- Clean the Lens: Salt spray is your enemy. Before you launch, lick the lens or use a specialized anti-fog spray.
- High Frame Rates: Set your camera to at least 60 frames per second (fps). This lets you slow down your footage later for those smooth, cinematic shots of your best jumps or transitions.
- Don't Record Everything: You don't need two hours of footage of you crashing. Turn the camera on when you are ready to ride and turn it off when you take a break to save battery and memory card space.
Keeping Your Gear Safe
The ocean is harsh. After every session, rinse your camera and all mounts in fresh water to prevent salt buildup. Check your mount screws regularly; vibration from the kite can loosen them over time, and you don't want your camera taking a swim on its own.
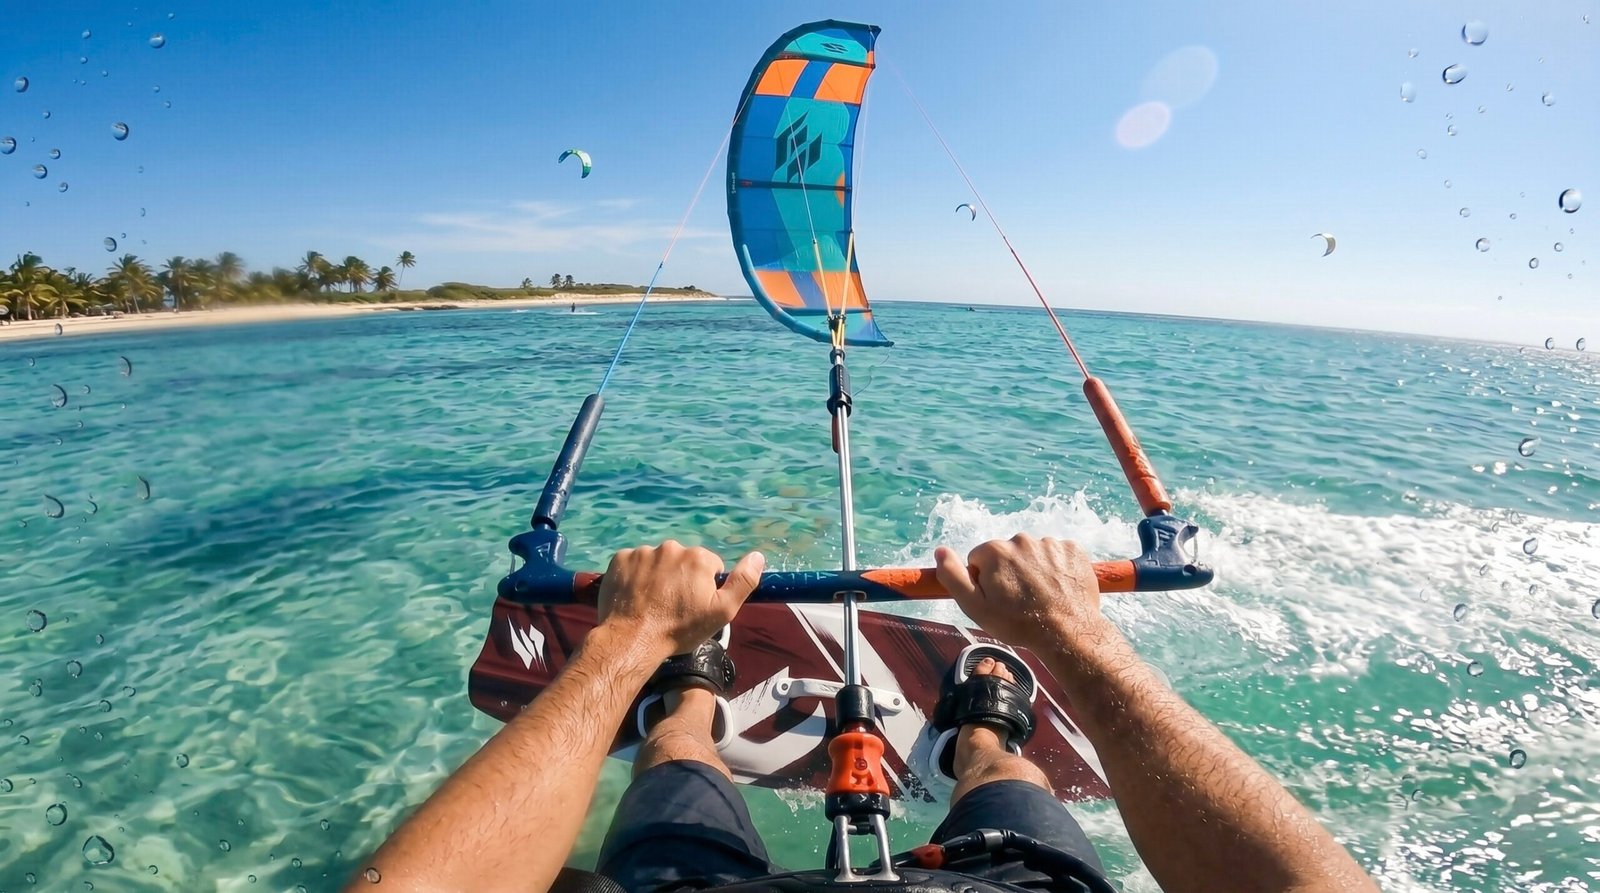
Immersive perspective — mouth-mounted optics capture the raw sensory experience of skimming directly across the water surface.
Now you have the gear and the knowledge to start filming your progression on the water. Get out there, hit record, and show the world your progress!
Find filming spots →